You have your eye on a dual-zone mini-split, but you’re wondering if you’ll need professional help to install this type of HVAC unit. As these innovative ductless systems grow in popularity, even more people are asking themselves this same question: Can I DIY install a dual-zone mini-split?
KEY TAKEAWAYS
- DIY dual-zone mini-split installation offers cost savings and flexibility.
- Seasoned do-it-yourselfers can complete up to 95% of the installation independently.
- Seek professional help when unsure or for complex installations.
Nothing is more rewarding than a good DIY project for some home and business owners.
Furthermore, as mini-split heat pump technology advances, making a mini-split installation into one of those do-it-yourself projects is only getting easier.
Let’s look at what makes a ductless mini-split a good DIY project and some factors that make involving a professional a good idea.
What is a Dual-Zone Mini-Split?
Before we get into the factors that influence a do-it-yourself install of a dual-zone mini-split system, let’s dive deeper into what these heating and cooling systems are and how they differ from other ductless mini-split systems.
You want to install a mini-split to help save money on your electric costs and create maximum comfort in your home, but you don’t think one air handler can cover all your home’s heating and cooling needs.
The solution? Multi-zone technology!
A dual-zone mini-split is a type of ductless heating and cooling system designed to provide precise climate control in two separate areas or zones within a home or building while using the same concept as a single mini-split air conditioner.
But unlike single-zone mini-split systems, which come with one indoor air handler, a dual-zone uses two air handlers to heat or cool two rooms or zones.
How Does a Dual-Zone Mini-Split Work?
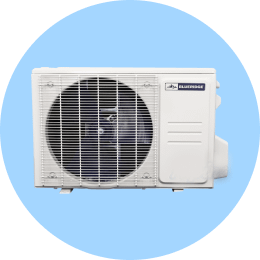
Outdoor Unit:
The outdoor unit contains the compressor and condenser, responsible for exchanging heat with the outdoor air. It pumps refrigerant to and from the indoor units as part of this process.
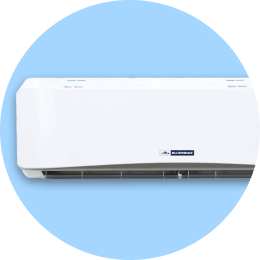
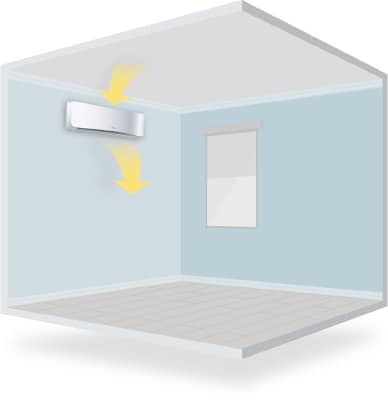
Indoor Units:
Install two indoor units (or air handlers) in the areas you want to heat or cool. Choose from high wall-mounted, low wall-mounted, or ceiling cassette types. These units contain the evaporator coils and fans to distribute conditioned air.
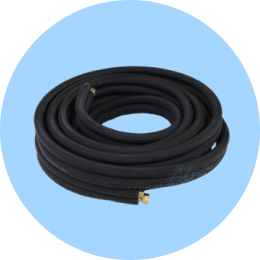
Refrigerant Lines:
Copper refrigerant lines connect the outdoor and indoor units, transferring heat between them. Refrigerant cycles through these lines, absorbing heat indoors and releasing it outdoors.
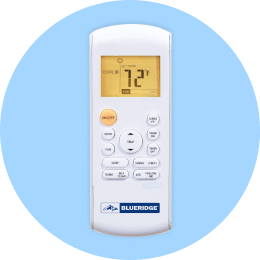
Control System:
Most dual-zone mini-split systems come with a remote control. Use it to set different temperatures and operating modes for each indoor unit, customizing comfort in each zone.
Why Choose a Dual-Zone Mini-Split?
The primary advantage of a dual-zone mini-split is its ability to create independent temperature zones, allowing occupants in different areas to enjoy personalized comfort settings.
This can lead to energy savings, as you don’t have to condition the entire space uniformly.

Dual-zone systems provide personalized performance in homes with multiple bedrooms or open-concept living spaces where temperature preferences vary.
Furthermore, mini-splits with two indoor units offer an energy-efficient heating and cooling solution tailored to your needs. Two-zone systems are an ideal and increasingly popular choice for modern comfort control.

The Cost Savings and Flexibility of a DIY Dual-Zone Mini-Split Installation
Deciding to tackle a do-it-yourself dual-zone mini-split installation provides a unique opportunity. You can save on installation costs while enjoying the flexibility to tailor your climate control system to your needs.
When you choose to take on the installation process of your dual-zone mini-split, you will:
- Save on Installation Costs: Hiring a professional HVAC technician for a dual-zone mini-split installation can be costly. Doing it yourself eliminates labor expenses, putting money back in your pocket.
- Gain Installation Control: DIY mini-split installations allow you to dictate the timeline and ensure the quality of work. You can work at your own pace and make adjustments as needed.
- Customize the System: You can choose the ideal location for indoor mini-split units, placing them where you need them most for efficient heating and cooling.
- Increase Self-Sufficiency: Installing a dual-zone mini-split can be a valuable skill that empowers you to maintain and troubleshoot your system in the future.
- Explore Cost-Effective Brands: With the flexibility to choose your equipment, you can opt for reliable, cost-effective brands and models that fit your budget.
- Personalize Zoning: You can fine-tune the zoning of your mini-split system to match your room usage patterns, optimizing comfort and energy efficiency.
- Minimize Disruption: DIY installations often result in less disruption to your home. For instance, you can plan the work around your schedule and minimize the presence of external contractors.
- Boost Confidence: Completing a DIY project can boost your confidence and provide a sense of accomplishment.
- Access Online Resources: Numerous online tutorials and resources are available to guide you through the installation process, making it accessible to even those with limited experience.
- Enjoy Long-Term Savings: While there is an initial learning curve, an efficient mini-split system’s long-term energy savings and reduced maintenance costs can outweigh the upfront effort.
- Enhance Home Comfort: When you have the flexibility to design a system according to your specific needs, you can create a more comfortable living environment tailored to your preferences.
- Gain Knowledge: DIY installations provide an opportunity to gain valuable knowledge about your heating and cooling system. During this process, you’ll learn to make informed decisions and troubleshoot issues in the future.
- Control the Budget: You have complete control over the budget and can, therefore, make choices that align with your financial goals and priorities.
- Achieve Greater Satisfaction: Successfully installing a dual-zone mini-split can lead to high satisfaction, knowing you’ve played a hands-on role in enhancing your home’s comfort and efficiency.
- Reduce Wait Times: Scheduling a professional installation can sometimes involve waiting for availability. With a DIY approach, you can start the project when it suits you.
Installing your dual-zone mini-split provides financial savings and the freedom to tailor your system to your unique needs. This rewarding process yields long-term comfort and control over your home’s climate.

DIY Installing Your Dual-Zone Mini-Split
Installing a dual-zone mini-split system on your own can be rewarding if you’re comfortable with DIY tasks and have some HVAC knowledge.
However, remember that this is a complex job. It’s important that even with a DIY project, you follow all manufacturer instructions and local building codes. Never be afraid to contact an HVAC specialist if you need additional help.
Step 1: Gather Your Tools and Materials
Before you start, ensure you have all the necessary tools and materials:
- The complete dual-zone mini-split system
(indoor units and outdoor units) - Mounting brackets for indoor units
- Mounting brackets or platforms for outdoor unit
- Refrigerant lines and insulation
- Drain hoses
- Electrical wires and conduit
You will need standard tools, including screwdrivers, wrenches, and pliers. Additional specialty tools, such as a pipe cutter, pipe bender, drill, and hole saw, may be required.
Step 2: Select Locations for Indoor Units
Choose the best locations for your indoor units. Standard wall units are placed high on walls, preferably in areas where airflow can circulate effectively. Another option is ceiling cassette units, which recess into the ceiling. Ceiling cassettes are ideal for larger spaces or rooms with limited wall space.
Ensure there are no obstructions that can impede airflow before you finish the installation.
Step 3: Install Mounting Brackets
Once you have determined the locations for your indoor units, install mounting brackets securely on the walls. Use appropriate anchors and fasteners for your wall type (e.g., wood, concrete, or drywall).
Step 4: Drill Holes for Refrigerant and Drain Lines
Drill holes through the walls to accommodate the refrigerant and drain lines. Ensure these holes have a slight downward tilt to the outside for proper drainage.
Step 5: Install the Indoor Units
Attach the indoor units to the mounting brackets following the manufacturer’s instructions. Then, connect the refrigerant lines, drain hoses, and electrical wires to each indoor unit.
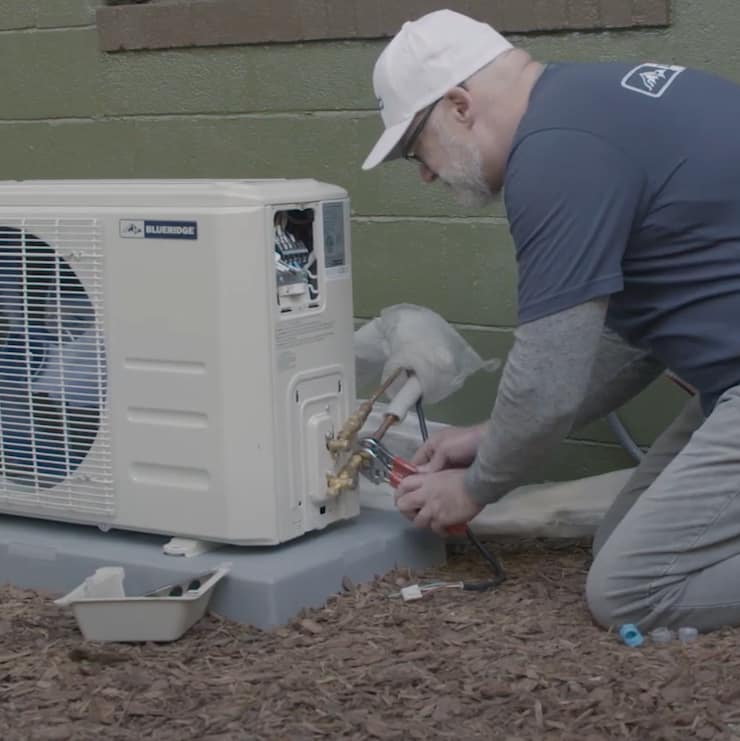
Step 6: Install the Outdoor Unit
Your mini-split outdoor unit needs to withstand exposure to the elements, so think carefully about where to place it.
Positioning the outdoor unit on a stable, level surface is also a good idea. (Many installers use platforms or pads to keep the outdoor unit off the ground, which helps to resist long-term corrosion.)
Once placed, connect the refrigerant lines, electrical wires, and drain hoses to the outdoor unit, ensuring tight and secure connections.
Step 7: Create the Refrigerant Line Sets
Use the pipe cutter to cut the refrigerant lines to the appropriate length. Connect the lines between the indoor and outdoor units, ensuring they are insulated and corrosion-resistant.
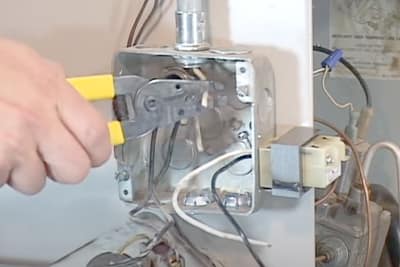
Step 8: Electrical Connections
While you can complete most installation steps yourself, dealing with electrical wiring may be best left to a professional. For instance, you’ll need to properly connect the wires from your mini-split’s indoor and outdoor units to the main power supply.
Most DIYers will benefit from a licensed electrician who will ensure proper grounding and follow local electrical codes.
In addition, you may need an electric panel with a higher voltage and a dedicated circuit to run your mini-split safely.
Step 9: Final Adjustments
Make adjustments to each indoor unit’s airflow direction and fan speed settings. Check for any unusual noises or issues. Remember, an experienced HVAC professional can often address any troubleshooting issues if and when they arise.
Note that if you’re uncomfortable with any aspect of the installation or have doubts about your skills, it’s best to hire a licensed HVAC professional to ensure safety and optimal performance.
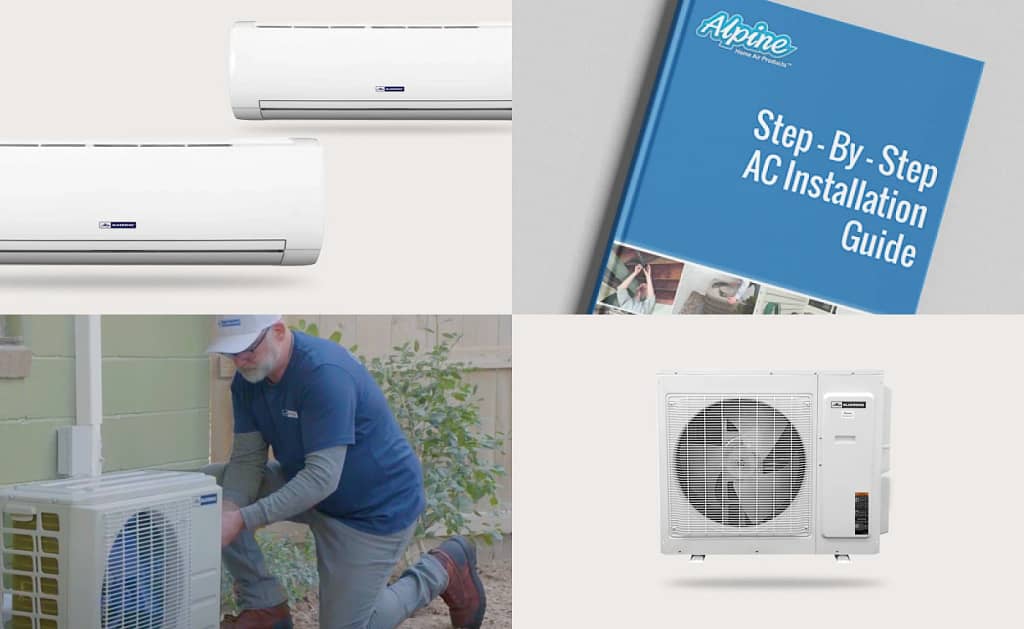
Do It Yourself and Do It With Alpine Home Air
At Alpine, we tell our customers that up to 95% of a mini-split installation can be DIY. We’d love to chat about your project and answer any questions you may have.
With over 20 years of experience in the industry, Alpine can help you find the right comfort solution. We ensure that your HVAC system will provide years of comfort and reduced energy costs.
And because Alpine’s Blueridge mini-splits feature robust construction, they’re ideal for any homeowner. Whether you’re a do-it-yourselfer or plan to hire a professional, Alpine will be with you every step of the way.
Before those temperatures drop this winter, reach out to us at Alpine–your new partner in everything HVAC!